

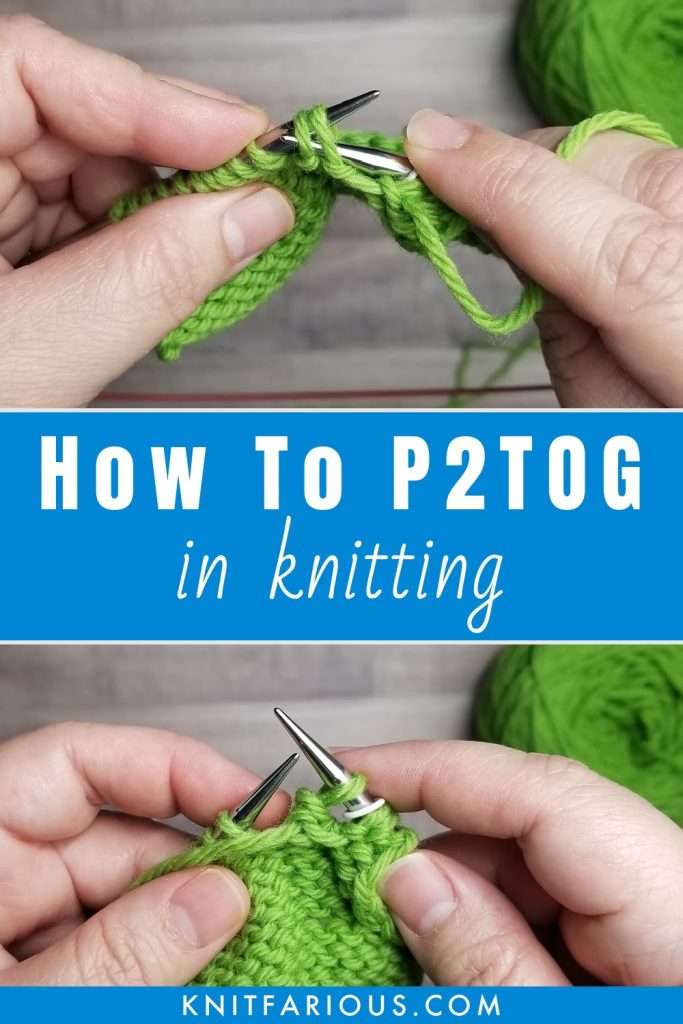
This knitting tutorial will teach you how to P2TOG. Like the K2TOG, it’s one of the easiest knitting decreases out there.
If you know how to purl stitch, you can knit this decrease, also abbreviated as P2TOG. In this step-by-step photo tutorial, I’ll show you how to make this purl decrease and how to unknit it in case you need to tink your knitting.
Additionally, I’ll answer some of the most frequently asked questions about the purl two together decrease.
By the end of this knitting post, you’ll feel confident enough to execute a P2TOG on your own. Let’s dive right in.
Table of Contents
What is the P2TOG in Knitting?
When your knitting instructions tell you to P2TOG, it’s advising you to purl two stitches together. The P2TOG uses two stitches to decrease one stitch in knitting.
This easy decrease is most commonly used on the purl side, or wrong side of the fabric. However, some knitting patterns will incorporate the P2TOG decrease on the right side of knitting.
Finally, the P2TOG creates a right leaning decrease, much like the K2TOG. The only difference is that it’s commonly performed on the wrong side vs the right side of your knitting (K2TOG).
You can learn more about the knit 2 together (K2TOG) here.
Let me show you how to purl two together so you can see what I mean.
How to P2TOG in Knitting
I used the long tail cast on for this knitting tutorial, size 8 circular knitting needles, and worsted weight 100% wool yarn to make this small knit swatch.
If you’d like to make your own practice swatch in some scrap yarn, just be sure to check the yarn label for needle size recommendations.
Knitting Supplies I used for this photo tutorial:
Now, on the wrong side of your knitting, work to where you need to place a P2TOG decrease.
With the yarn in front of your work as if to purl, insert your right knitting needle through the front of the next two stitches as shown below.

Wrap the yarn around the needle using your normal knitting style. Here I’ve wrapped it counterclockwise for the English knit style (throwers).

Purl these two stitches together at the same time pulling the yarn through. The new stitch is now on your right needle and the two stitches that created the P2TOG decrease are on the left needle. You can see this clearly in the image below.

in the p2tog decrease are on the left needle
Now, drop these stitches off the left-hand needle.

Finally, adjust the stitch tension to ensure an even sized decreased stitch. If it helps, you can turn your knitting around to the right side to double check.

Now, let’s look at the finished result of a series of P2TOG knitting decreases.
What Does the P2TOG Look Like?
On this stockinette swatch, we’re looking at the reverse side of your knitting, not the side you made the decreases on. Notice how the stitch on the left lays on top of the stitch on the right and creates a nearly invisible decrease. You can also see that this right leaning decrease blends into the knit fabric easily.
Also, note how it looks just like a K2TOG (knit two together), except it’s done on the wrong side of your knitting. Both the P2TOG and the K2TOG knitting decreases are right leaning decreases.

In this swatch, the knitting decreases are stacked on top of each other. In other words, I purled 2 together on every purl row in this stockinette stitch swatch. Notice how it creates a more pronounced angle on the edge of your knitting.
If you’d like to see what knitting decreases look like when they’re not stacked on top of each other, you can see it here.
Now, let’s talk about how to unknit this decrease in case you need to fix a mistake in your knitting.
How to Undo the Purl Two Together
Now that you know how to P2TOG, you should also learn how to undo these purl stitches. Let me show you how.
Turn your knitting so the right side (RS) is facing you. Next, identify the right legs of the two stitches in the P2TOG. In this image, the right legs are marked with white arrows.

Now, insert your right needle through the two right legs just below the needle.

With your needle through the two legs, now slip the stitch off the left needle.

After you slip the stitch off the left needle, unknit the yarn from the back of the two stitches. Here, you can see the unraveling of the stitch.

And that’s just how easy it is to undo these purl stitches. Whether you’re knitting with one strand, double stranded, or more than two strands held together, the instructions are the same. Just account for the additional strands of yarn as needed and you’ll be fine.
Now let’s go through some frequently asked questions about the P2TOG.
P2TOG Knitting FAQs
Here are the most commonly asked questions about knitting the purl two together.
What Does the P2TOG Do to Your Knitting?
The P2tog uses two stitches to create a 1-stitch decrease. Every time you knit (or purl) a decrease, you decrease your stitch count by one.
The P2tog also creates a right leaning decrease on the wrong side row of your knitting that’s visible on the right side of your knitting.
Does the P2TOG Lean Left or Right?
As you make the P2TOG, it appears to lean to the left. What you have to remember, though, is that it’s what’s visible from the right side of your knitting that matters.
When you look at the P2TOG from the right side, or stockinette side, you can see that it leans to the right, much like the K2TOG.
What is the Knitting Chart Symbol for the P2TOG?
It makes sense that the knitting chart symbol for the P2TOG leans to the left to remind you that it’s a left leaning decrease.

K2TOG and P2tog
In this image below, you can see the standard knit chart symbols used by the Craft Yarn Council for both the k2tog and the p2tog. However, not everyone uses these standard abbreviations, not even in knitting design software. Just be sure to check your knitting chart key to be sure.
Can I Knit a P3TOG?
Yes, you can purl three together (P3TOG)! Knowing how to P2TOG opens the door to greater knitting decreases. If you know how to purl 2 together, then you can also make a double decrease like the P3TOG.
You can also knit a triple decrease like the P4TOG, or a quadruple decrease like the P5TOG. These larger stitch decreases aren’t as common as the P2TOG, but they do exist.
Is the P2TOG the same as the P2TOG TBL?
No, the purl two together doesn’t twist the stitches as the purl 2 together through the back loop does.
Free Patterns Using the P2TOG and P3TOG
Here are several free patterns to help you practice these right leaning knitting decreases. From head to toe, which knitting project will you choose first?
Seeded Columns Hat

This circular knitted hat pattern features seed stitch and 3×1 rib knit columns. You can practice the purl 2 together (P2tog) and knit 2 together (k2tog), both right leaning knitting decreases.
The written knitting pattern instructions include five knit hat sizes and recommends using a medium (4) worsted weight acrylic yarn.
Use Premier Basix yarn or Premier Basix Mosaic yarn for this knitting project.
Great Stones Socks
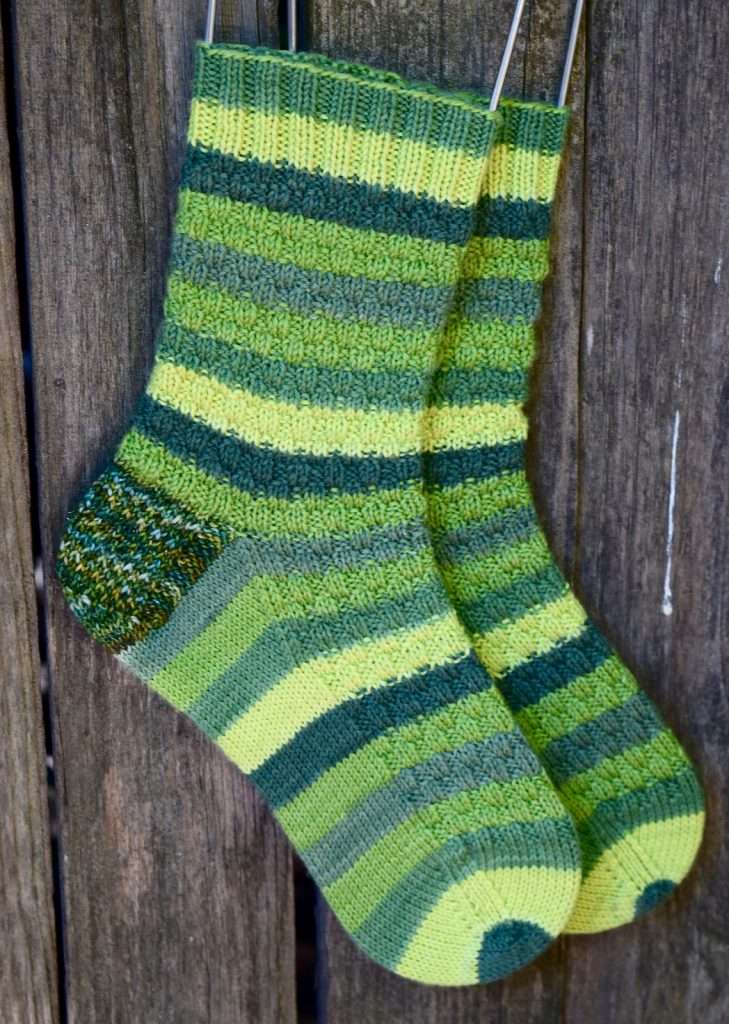
Here’s a free slip stitch knitting pattern for textured knit socks.
This sock knitting pattern gives you a chance to practice your slip slip knit (SSK) decreases and purl two together (P2tog) decreases.
You’ll need super fine weight (fingering) yarn, preferably in a self-striping yarn, or use your favorite solid color or tonal color.
Try Wayback Yarns Truly Twisted SW or Patons Kroy Striped Sock Yarn for this knitting project.
Ida Shawl
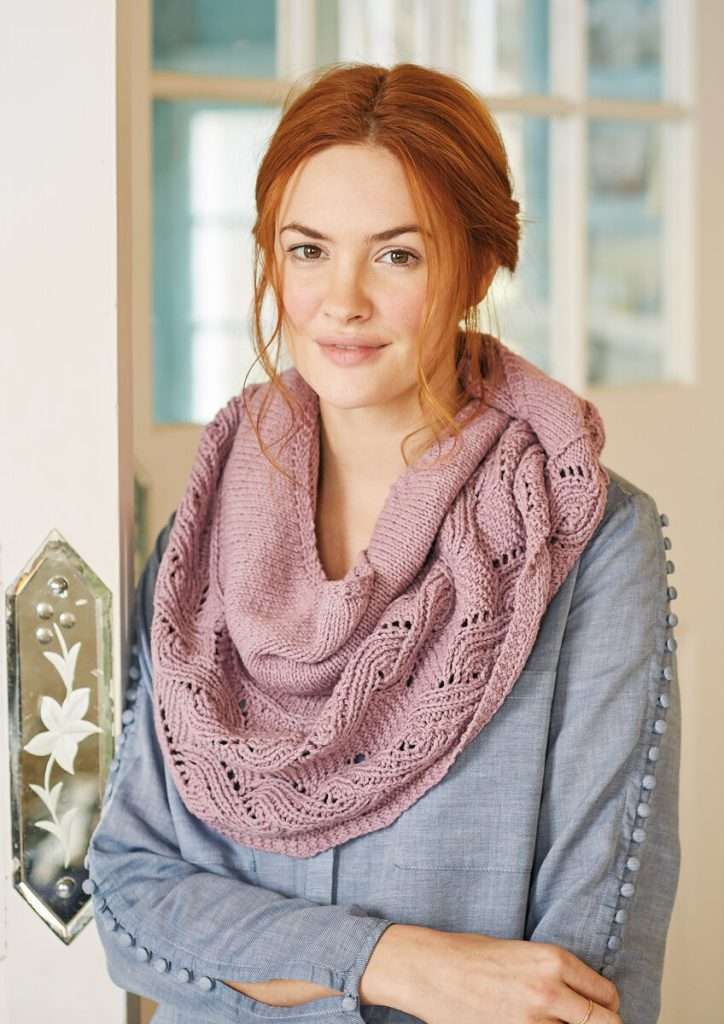
If you love knitting accessories, then you’ll love this triangle shawl. It’s an intermediate knitting pattern that uses medium weight worsted yarn.
The Ida Shawl from Rowan features a stockinette stitch body (knit rows and purl rows), and finishes off with a lovely lace border.
For knitting skills, you’ll get to practice the purl 3 together (p3tog), knit 3 together (k3tog), and other knitting decreases.
Use Rowan Cotton Cashmere yarn or Rowan Pebble Island yarn, or try Patons Classic Wool yarn.
Love these patterns? Be sure to check out our collections of free knitting patterns here, visit my pattern shop here. You can also shop for hand dyed yarn here for your knitting projects.
Okay, so today you learned how to purl two together and create a single stitch decrease. You’ve also learned how to undo these purl stitches, or tink your knitting.
I hope you found this step-by-step tutorial helpful and learned something new. Check out our other in-depth tutorials here. Each one features step-by-step instructions with tons of big pictures to really see the steps.
Still have questions? Drop me a line and I’ll do my best to help you.
Don’t forget to follow us on social media. You can find me on Facebook, Instagram, and now on Threads! Come say hello.


