
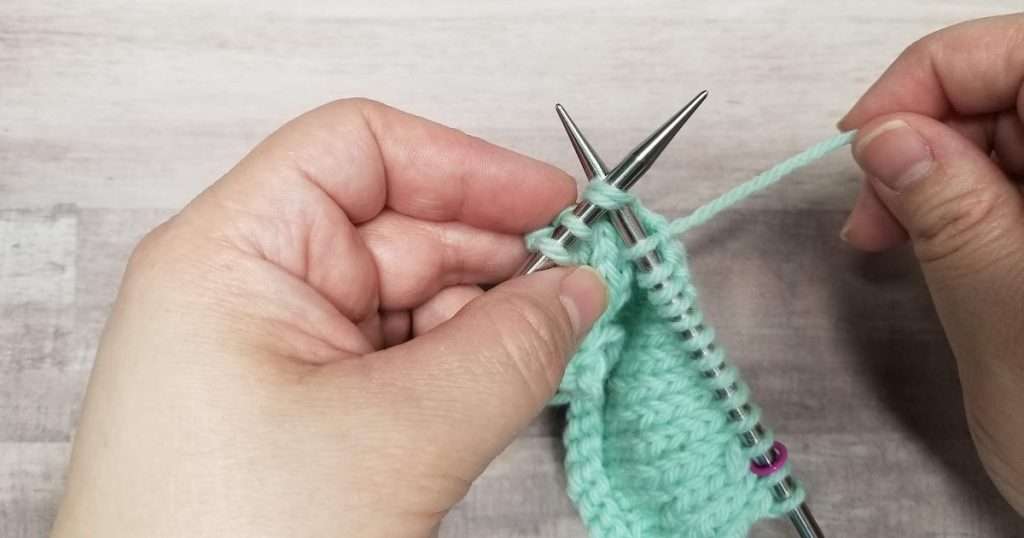
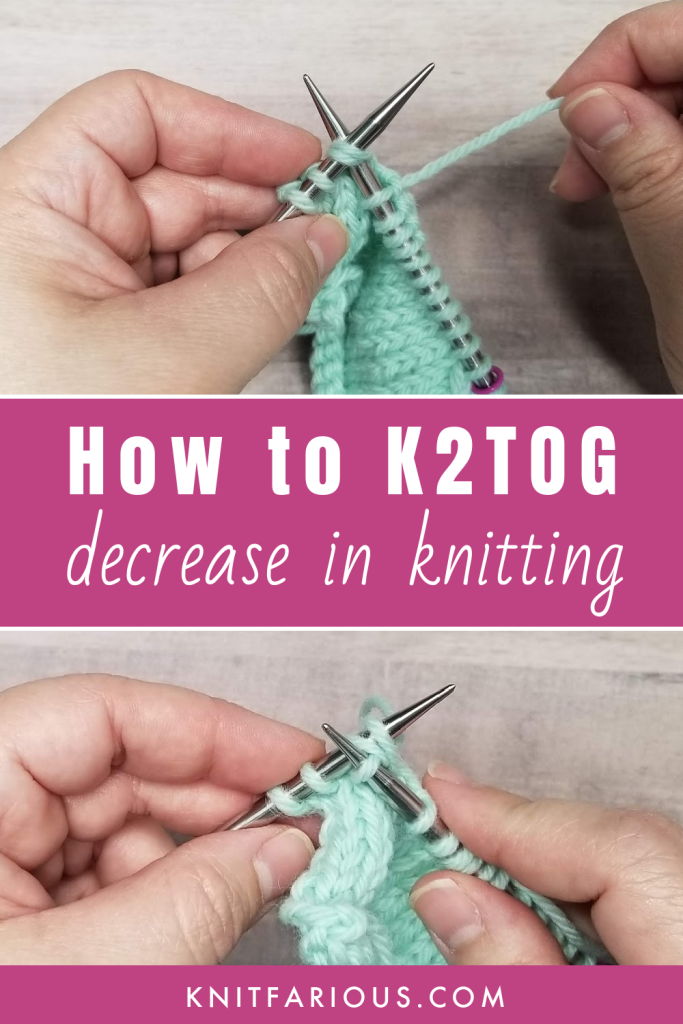
Today, I’m going to talk about the easiest knitting decrease method, the knit two together (commonly abbreviated as k2tog). Knowing how to decrease stitches in your knitting is an essential skill, and opens up so many knitting pattern possibilities..
In this step-by-step knitting tutorial, I’ll explain what this knitting decrease does and what you can expect from it. I’ll demonstrate how to execute the knit 2 together, and provide examples to practice decreasing a knit stitch.
By the end of this post, you’ll feel confident knitting and working with the k2tog decrease.
Table of Contents
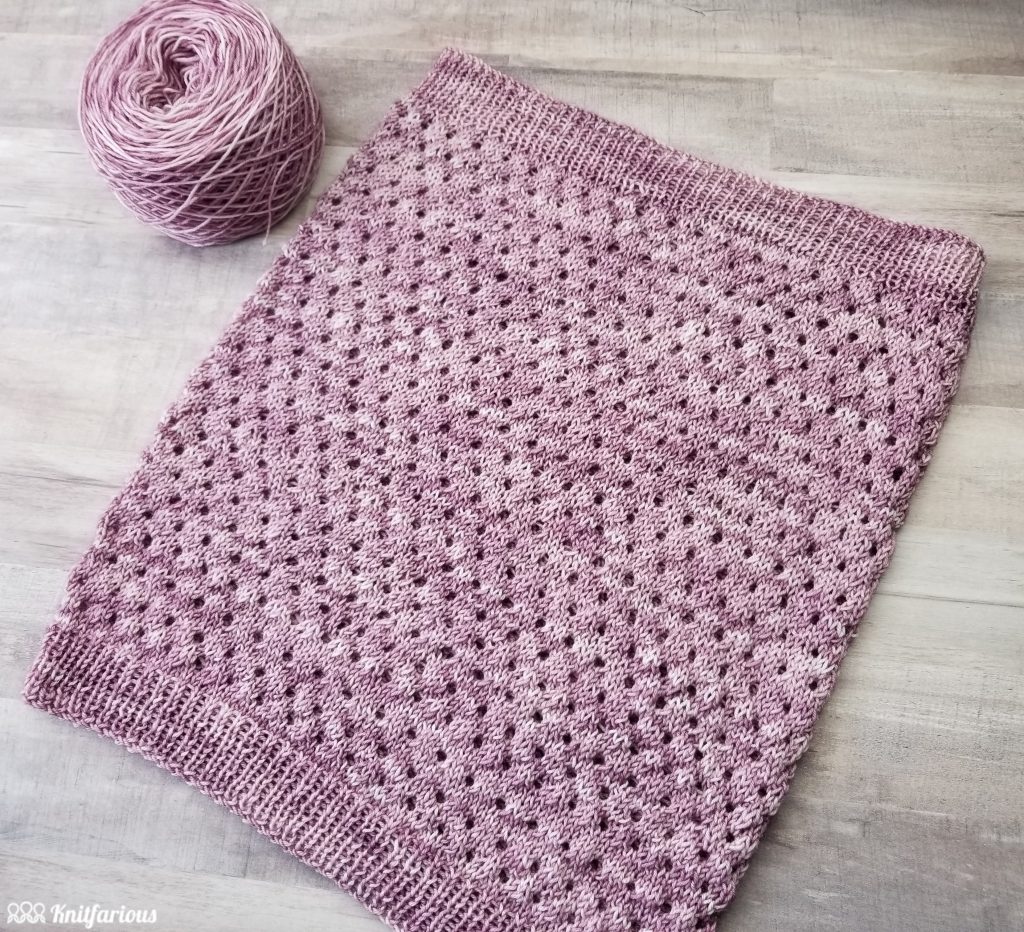
(Paid pattern by Tiffany Morse)
What Does Knitting the K2TOG Do?
First of all, the k2tog decreases one stitch in your knitting. Knitting decreases like the k2tog can also create shape. You can do this using knitting decreases alone or by including knitting increases. We’ll cover knitting increases more thoroughly in a later post.
The knit 2 together occurs on the right side of the work. To be clear, this isn’t to say that you place the decrease only on the right edge of your knitting. It’s to say that you make this decrease on knit rows or right side (rs) rows.
You can choose to place a knit two together decrease on the left or right edge of your knitting, or at the beginning or end of a stitch pattern repeat. In the image below, I’ve placed a series of five knit 2 together decreases along the right edge.

Another thing k2tog knitting decreases do, when properly executed, is lean to the right. I’ll elaborate on these right leaning decreases and why it leans this way a little later on in this post. For now, let’s learn a little more about the knit two together.

Knit Two Together (K2TOG) Decrease
Of all the different types of knitting decreases, the k2tog is one of the most commonly used decreases in knitting patterns. It’s also one of the easiest knitting decreases to learn and knit.
As I mentioned earlier, it decreases one stitch in your knitting. Of course, you can decrease more than one stitch at a time. A knit 3 together (k3tog) would create a double decrease, while a knit 4 together (k4tog) would decrease 3 stitches. And so on.

then knit them together
Just know that the more stitches you decrease at a time, the more obvious it’ll be in your knitting. Multiple stitch decreases can also serve as a decorative element in your knitting.
In the case of the k2tog decrease, it creates the least obvious decrease. Let me show you how to make the k2tog decrease and what it looks like.
How to K2TOG
The knit two together decrease (k2tog) is a lot like knitting a regular knit stitch. The difference is you’re knitting two stitches together at once.
Here I have a small knit swatch in stockinette stitch. For this tutorial, I cast on 20 stitches on size 8 ChiaoGoo knitting needles and used worsted weight wool yarn.
To knit your own swatch, any yarn weight will do. Just check your yarn label for recommended knitting needle sizes.
These are the knitting tools I used:
First, on the right side of your work (smooth side of the fabric facing you), knit to the location where you want to place your K2TOG decrease. Then, insert your right knitting needle knitwise into the next two stitches at the same time as you would a regular knit stitch.

Wrap the yarn around the needle. Then, knit them together at the same time. Now, slip the decreased knit stitches off your left needle and onto the right needle.

That’s how you do the k2tog. You’ve just decreased the stitch count by one and created a right leaning decrease on the knit row (right side [RS] row).

This knit swatch shows five right leaning k2togs on left edge of knit row (RS Row)
What makes it a right leaning decrease? Let’s talk about this further.
K2TOG is a Right Leaning Decrease
Take a look at the image I’ve included below. As you can see, I’ve marked the right leaning knitted decreases with three different symbols.
The black arrows point to the location of the knit two together decreases. Then there are right-leaning slant marks in black, which show you the top stitch of each decrease.

Finally, there are three red vertical bars marking the middle three of five decreases. These vertical bars mark the back stitch of the k2tog decrease. These also show where the column end point is. Note, I chose to mark only three so you could see the other two clearly.
Considering how you create the k2tog, remember the right needle goes into the second stitch first. This causes the first stitch to fall to the back when you knit it. Ultimately, the second stitch becomes the top stitch and ends up slanting right, while the first stitch disappears.
The order in which you work the stitches determines the direction of the knitting decrease’s lean.
In this knit swatch, you can see that the K2TOG creates a very tidy line of decreases in your knitting.
These knit 2 decreases occur every other right side row (EORSR). Knitting EORSR creates a gentle slope in your knitting.
How to Knit an Easier K2TOG
Depending on the knitting needles you’re using and/or the yarn fiber, you may find it difficult to slip the needle through the two stitches. If you find knitting these two stitches together, here’s a tip to make the k2tog easier.
Following the earlier instructions, just insert the needle tip through the stitches, not the needle shaft. Wrap the yarn in your preferred knitting method, then slip the knitted stitches over to the right needle. You can adjust the decreased stitch size once it’s on the right needle.
K2TOG Common Mistakes
Even though the K2tog is a beginner friendly decrease, it’s still possible to make a mistake when knitting the stitches together. One of the most common mistakes when knitting the k2tog is not catching both stitch loops in the decrease.
This is why it’s important to check your knitting as you go. It helps to use stitch markers, as it makes it easier and quicker to count your stitches and catch a mistake. If you prefer not to use stitch markers, frequently check your knitting to see if the stitches are leaning appropriately. If they’re not, you probably missed a loop, or worse, dropped a stitch.
Should you need to troubleshoot your knitting to fix a mistake, let me show you how to unknit your k2tog.
How to UnKnit a K2TOG
Now that you’ve learned how to k2tog, you should also know how to undo a k2tog to fix a mistake. Here’s how to undo a k2tog decrease by tinking your knitting.

As shown above, turn your knitting around so the wrong side is facing you.

Notice the single stitch that’s on the left hand needle and the two stitches below it, as shown above.
Now, insert your right hand needle into both of the k2tog stitches.

With the k2tog stitches back on your right knitting needle, slip the worked stitch off the left needle. Then, pull the working yarn out of these stitches to unknit the decrease.
And that’s how you unknit a k2tog. Easy, right?
Knit Patterns Using the K2TOG
No knitting lesson is complete without some fun knitting patterns to practice on. Here are three patterns that give you a chance to see the k2tog decrease in action. Trying out different knitting patterns is a great way to learn how knitting decreases affect your knitting.
Andalusian Risa Knit Hat
Here’s a fun textured knit hat that’s knit in the round on circular needles. It pairs k2tog (right-slanting decreases) and ssk decreases (left-slanting decreases) together to create the tapered hat shape in the knitted crown.
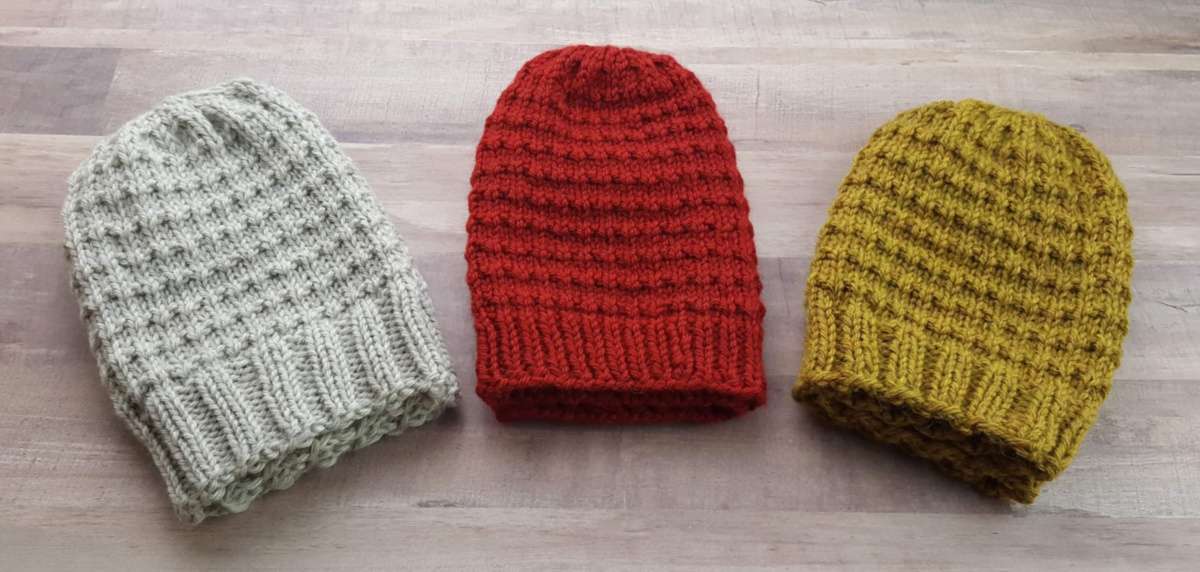
Use Cascade 220 Worsted Wool for this knitting project.
More free Knitted Hat Patterns here.
Diagonal Eyelet Baby Afghan
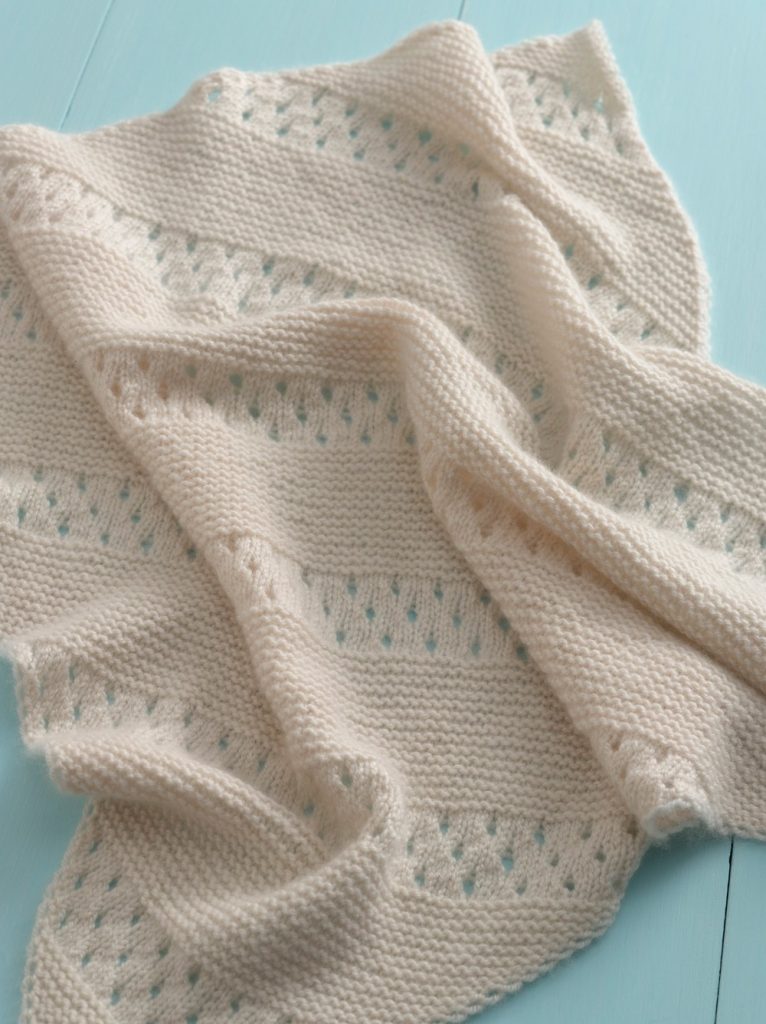
This lace baby blanket pattern is knit on the bias (corner to corner) and features knit yarn over (yo) increases with knit two together (k2tog) decreases. It also gives you a chance to practice k3tog double decreases.
Use Lion Brand Vanna’s Choice yarn or try Caron One Pound Yarn.
More FREE baby blanket patterns here.
Stormy Sky Shawl

This light and airy knit shawl features slipped stitches, knits, purls, and yarn over knit two together (yo, k2tog) combinations. It requires a looser gauge and you’ll also get to practice intentionally dropping stitches, too. You’ll only need one to two yarn hanks for this knitting project.
Try Manos del Uruguay Alegria yarn or Lion Brand Shawl in a Ball yarn for this knitting project.
More Free Knit Shawl Patterns here.
K2TOG FAQs
Here are some frequently asked questions about the knit two together decrease.
What Does K2TOG Mean in Knitting?
K2tog is the standard abbreviation for “knit two stitches together.” If you’re reading this in a knitting pattern’s instructions, it’s telling you to decrease a single stitch in your knitting.
What is the Knitting Chart Symbol for the K2TOG?
Since the k2tog is a right leaning decrease, it makes sense that the knit chart symbol for the knit two together slants to the right. In the image below, it shows the standard knit chart symbols used by the Craft Yarn Council for both the k2tog and the p2tog.

However, not everyone uses the standard abbreviation, not even in knitting design software. For example, Stitchmastery and EnvisionKnit both use a right leaning slant (/) mark for both right side (rs) and wrong side (ws) decreases.
I mention what these two knitting design software programs use to say there may be some slight variations to the k2tog chart symbol; generally, though, most resemble the standard k2tog decrease symbol, so just be aware.
Which Way Does the K2TOG Lean?
As we discussed earlier, the K2tog is a right leaning decrease. A good way to remember which way the k2tog leans is to memorize the knit chart symbol (as shown above). Whether it’s displayed as the leaning T (⋌)or as the right slant (/) mark, both lean to the right which should help you to remember how the k2tog leans.
Another way knitters use to remember how the k2tog leans is to look at the direction your knitting moves as you’re about to decrease. As you insert your right needle into the stitches, you’re pulling your stitches to the right, so they lean to the right.

A third more common way to remember is to pay attention to the direction your knitting needle points to work the decrease. When you make the k2tog, you insert your needle knitwise which points to the right. Your decrease will then lean to the right.
What Will a K2TOG Do to the Number of Your Stitches?
Every knit two together requires you to use two stitches to decrease one stitch. The number of decreases your knitting pattern tells you to decrease is the number of stitches reduced.
Of course, if knitting increases are involved, you’ll have to factor in the same. Most well-written patterns will indicate the number of stitches you’ll have at the end of each section.
What is the Purl Equivalent of the K2TOG?
The purl equivalent of the k2tog is the purl two together, abbreviated as p2tog. This right leaning decrease occurs on the wrong side of your knitting.
Alright, so we’ve covered a lot in a short amount of time. I’ve talked about what the k2tog decrease does, the angle of the decrease and why it leans this way, and walked you through how to knit two together.
We’ve also looked at a handful of examples showing the k2tog decrease in action and answered some frequently asked questions. All that’s left is for you to go out and try it yourself.
I hope you enjoyed this knitting blog tutorial on the most common knitting decrease that’s easy enough for beginners to do. Now that you’ve learned about this right-leaning decrease, take your learning one step further.
Here’s another tutorial for a left-leaning decrease, which will lean in opposite directions to the K2tog. Learn how to make the SSK decrease here. And if you want to learn more about these two knitting decreases, check out this post comparing SSK vs K2TOG here.
Don’t forget to sign up for my newsletter to receive all the latest blog updates, pattern releases, and promotional offers!
Still have questions? Drop me a comment below.


